The Base Cream In a large bowl, whisk the eggs, sugar, vanilla sugar, and a pinch of salt. Beat the mixture until it reaches a thick, creamy consistency. You’ll notice the color turning a lighter, pale yellow—this is your indicator that you’ve incorporated enough air for a fluffy donut.
Incorporate Liquids Carefully melt the butter in the microwave (low power is best). Add the melted butter and the milk to your egg mixture and whisk gently until combined.
The Dry Ingredients Add the gluten-free flour and baking powder. Mix until you have a smooth, lump-free dough.
The Secret "Rest" Phase (Crucial!) Let the dough rest for 10 minutes. Stir it again after the wait. This is a vital step for gluten-free baking, as it allows the flour to fully absorb the liquids, ensuring your donuts aren't gritty.
Prepare the "Natural Power" Glaze While your dough is resting, prepare the icing. In a separate small bowl, combine the freshly squeezed lemon juice with the powdered sugar. Whisk until you have a smooth, glossy liquid. If it's too thick, add a drop more lemon juice; if too thin, add a bit more sugar.
Baking with the Maker Preheat your Bestron (or Dash) Donut Maker. Use a sauce spoon (or a piping bag) to fill the forms. Fill them just to the rim—no heaps! While a little overflow is easily trimmed off later, I prefer to err on the side of slightly less dough to keep things clean. Don’t worry; you’ll master this "art" by the second batch!
The Perfect Timing Close the lid and bake until the indicator light turns green. Carefully remove the donuts and let them cool on a wire rack for about a minute.
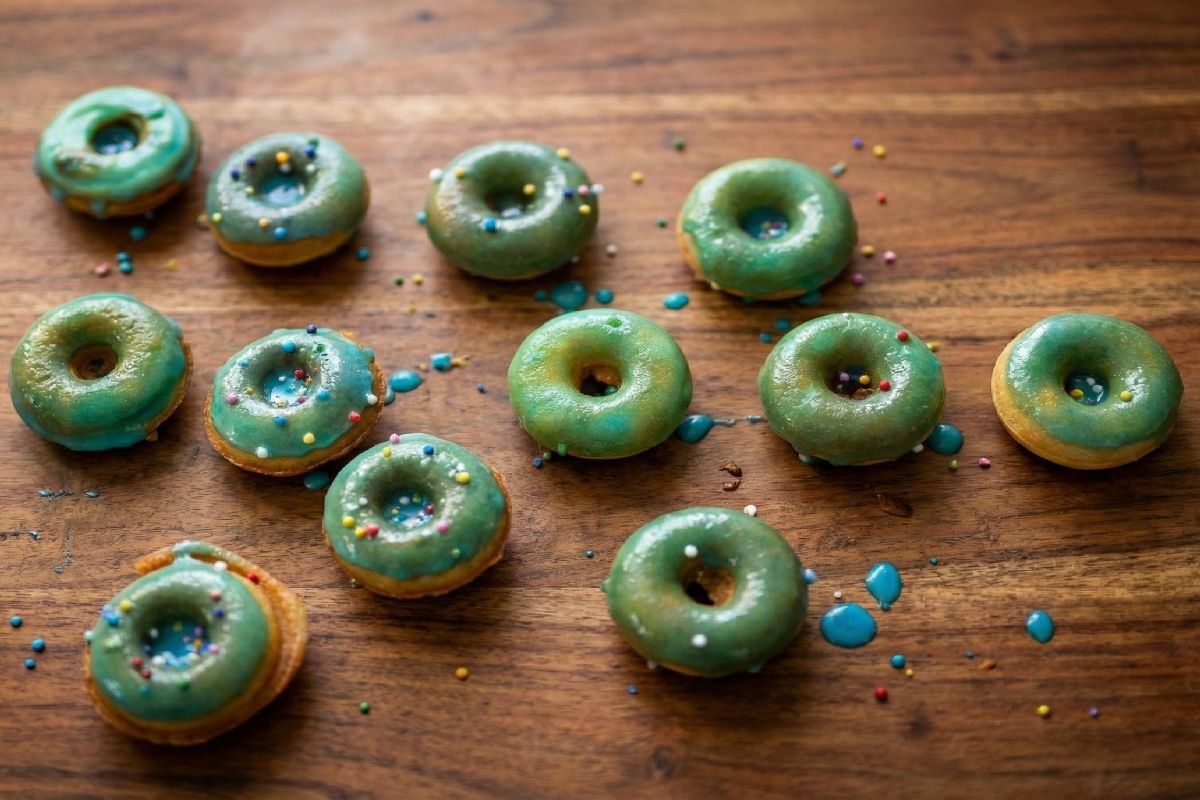
Glazing & Family Fun While still slightly warm, dip the donuts into your lemon icing. Now, let the creativity flow! This is the perfect holiday or weekend activity—my kids (even the older ones) love helping with the decorations. It’s pure natural power and family fun in one bite!