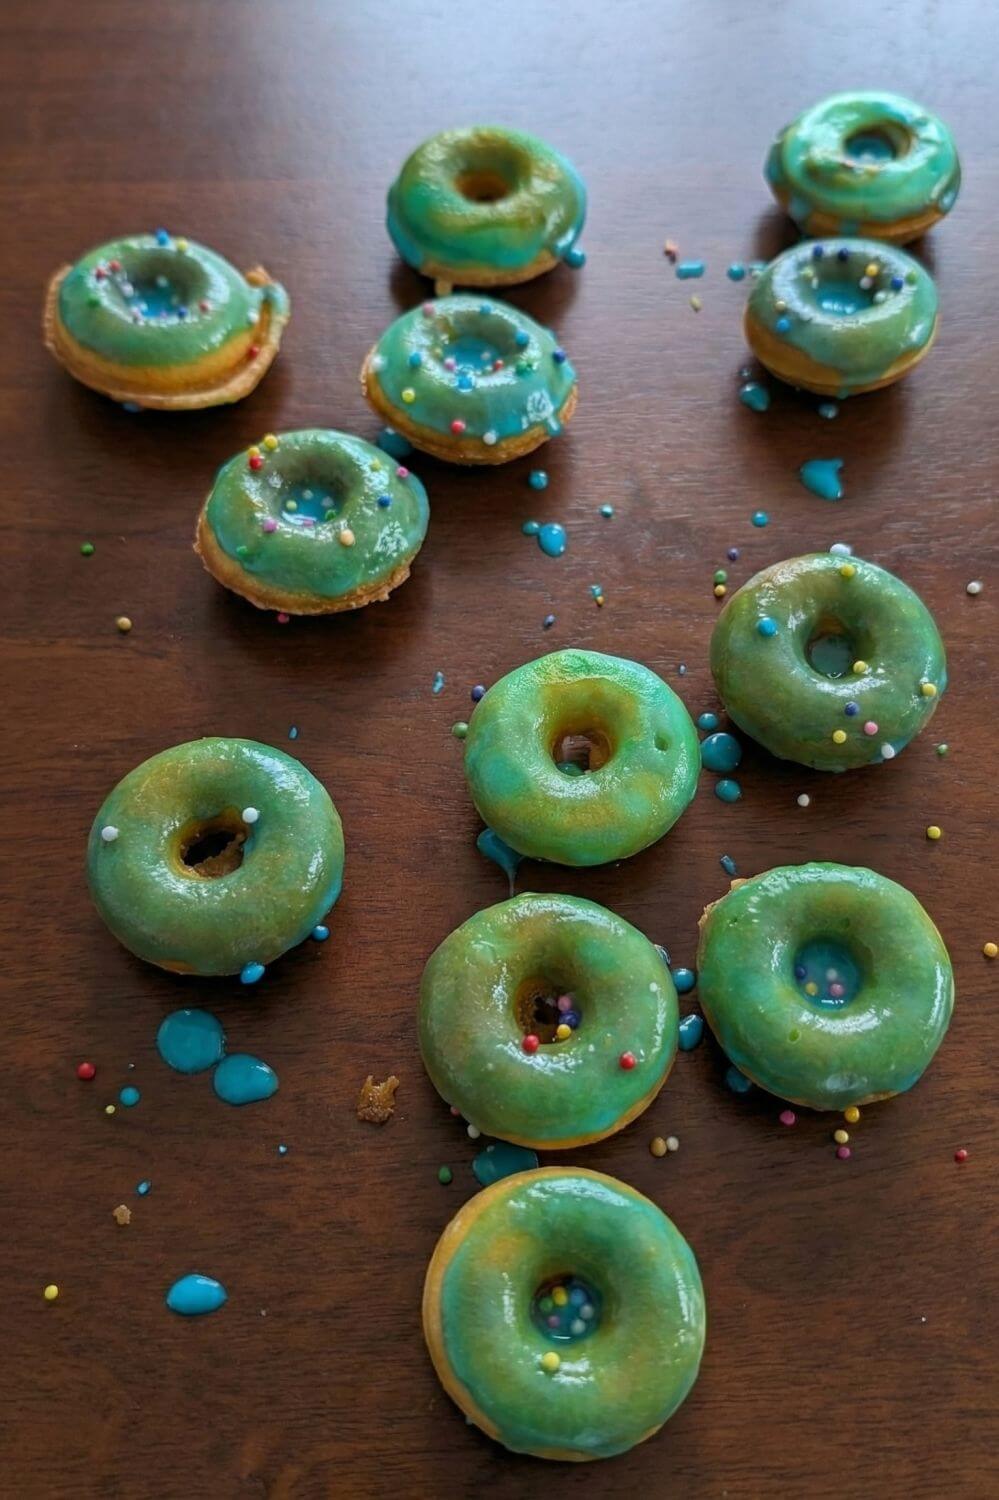

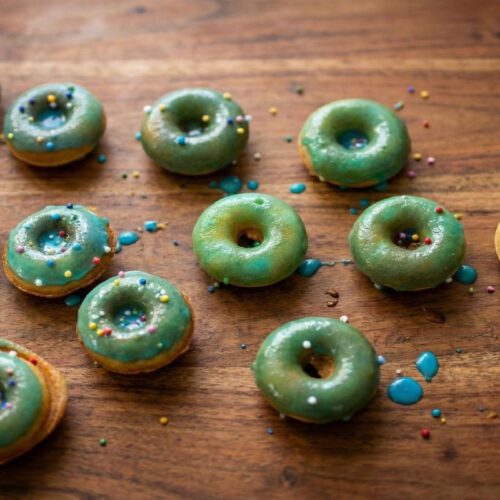
As a Celiac dad and athlete, I prioritize snacks that are both safe and efficient. After testing various methods, I’ve found that using an electric donut maker is the most reliable way to get a fluffy, golden result without the mess of deep-frying. These Gluten-Free Mini Donuts take just 15 minutes from start to finish—including the zesty lemon icing. Whether you are fueling up after a workout or looking for a high-quality family baking project, these donuts deliver pure natural power with every bite.
15-Minute Total Time: A realistic, fast workflow that covers everything from mixing the dough to the final glaze.
Device Optimized: Specifically formulated for electric donut makers (like the Bestron in Europe or the Dash in the US) to ensure even baking and a moist interior.
Natural Lemon Power: We use fresh lemon juice for the icing, providing a sharp, natural flavor profile and a small Vitamin C boost.
Athlete Approved: A great high-energy, gluten-free snack for recovery that doesn’t rely on heavy oils or artificial additives.
Fluffy Gluten-Free Mini Donuts (Celiac Safe)
As an Amazon Associate, I earn from qualifying purchases.
Equipment
- Bestron Donut Maker
Note: To get the best results, I recommend using this Donut Maker. It’s the one I use in the video above!
- Dash Express Mini Donut Maker
Note: For US readers, this is the one I would recommend Donut Maker.
Ingredients
The Dough:
- 225g (approx. 1 ¾ cups) Schär Mix C (Cake & Cookie) or King Arthur Measure for Measure
- 3 Medium Eggs
- 75g (⅓ cup) Cane Sugar
- 2 Packages (4 tsp) Vanilla Sugar (or 2 tsp Vanilla Extract)
- 2 tsp Baking Powder
- 175ml (¾ cup) Milk
- 75g (5 tbsp) Melted Butter
- 1 Pinch Salt
The Icing
- 150g (1 ¼ cups) Powdered Sugar
- 4 tbsp Freshly Pressed Lemon Juice
- optional: Natural Food Coloring & Toppings
Instructions
- The Base Cream In a large bowl, whisk the eggs, sugar, vanilla sugar, and a pinch of salt. Beat the mixture until it reaches a thick, creamy consistency. You’ll notice the color turning a lighter, pale yellow—this is your indicator that you’ve incorporated enough air for a fluffy donut.
- Incorporate Liquids Carefully melt the butter in the microwave (low power is best). Add the melted butter and the milk to your egg mixture and whisk gently until combined.
- The Dry Ingredients Add the gluten-free flour and baking powder. Mix until you have a smooth, lump-free dough.
- The Secret "Rest" Phase (Crucial!) Let the dough rest for 10 minutes. Stir it again after the wait. This is a vital step for gluten-free baking, as it allows the flour to fully absorb the liquids, ensuring your donuts aren't gritty.
- Prepare the "Natural Power" Glaze While your dough is resting, prepare the icing. In a separate small bowl, combine the freshly squeezed lemon juice with the powdered sugar. Whisk until you have a smooth, glossy liquid. If it's too thick, add a drop more lemon juice; if too thin, add a bit more sugar.
- Baking with the Maker Preheat your Bestron (or Dash) Donut Maker. Use a sauce spoon (or a piping bag) to fill the forms. Fill them just to the rim—no heaps! While a little overflow is easily trimmed off later, I prefer to err on the side of slightly less dough to keep things clean. Don’t worry; you’ll master this "art" by the second batch!
- The Perfect Timing Close the lid and bake until the indicator light turns green. Carefully remove the donuts and let them cool on a wire rack for about a minute.
- Glazing & Family Fun While still slightly warm, dip the donuts into your lemon icing. Now, let the creativity flow! This is the perfect holiday or weekend activity—my kids (even the older ones) love helping with the decorations. It’s pure natural power and family fun in one bite!
To achieve the best texture, I recommend using a dedicated electric donut maker. These devices lock in moisture—a critical factor for gluten-free flours—and produce a consistent ‘cake-style’ donut in minutes.
- In Europe: I use the Bestron Mini Donut Maker. It’s a classic choice that fits perfectly in any German kitchen.
- In the USA: The Dash Mini Donut Maker is the equivalent market leader and provides the exact same high-quality results.
Using a maker is not only faster than the oven, but it also keeps your kitchen clean and your snacks healthier by avoiding deep-frying.
- 15-Minute Gluten-Free Mini Donuts | Electric Maker Recipe

- Ultimate Gluten-Free Chili (Secret Ingredient: Dark Chocolate)